I then tested out the different colors I had originally practiced with during the Color Mixing Chart: Foundation exercise on my forearm:

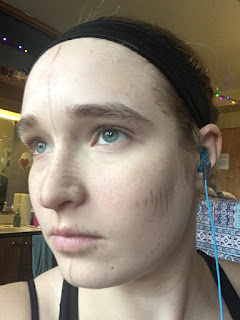
After completing that I began to apply makeup onto my face starting with using an eyebrow pencil to separate my face in half. I then began to apply foundation corrective colors and then finally highlight and shadows:


No makeup vs. makeup:


The next class I applied makeup to my whole face. I used the same process starting with foundation, then adding green and yellow corrective then adding powder onto the corrected areas, getting rid of my dark circles and the dry spot on my forehead.


 .
.
After I achieved a uniform skin tone I drew in the highlight and shadow marks and then applied the corresponding colors onto my face.


Next, I began to blend the highlight and shadow. I put wayyyyy too much shadow on and it kinda made my face look swollen since I applied too much shadow too low on my cheeks. But after the blending was finished I applied powder to seal everything.

Next, I began to apply so beauty features although I had to leave before we could finish. So I was only able to add eyeliner, some eyebrow filling, eyeshadow, blush, and lip color.


Your final basic corrective looks great!
ReplyDelete